This post may contain affiliate links that grant me a small commission at no extra cost to you.
This DIY bow top makes the most out of scrap ribbon. All of your friends will want you to make them one!

Over the past few years I have been collecting random spools of ribbon from my crafting as well as from thrift stores. Today, I'm going to show you the easiest DIY ever to embellish some old clothing.
I saw this idea floating around TikTok and wanted to make an in-depth tutorial for you guys based on my experience with trying it. I have seen people do this on old sweatshirts, jeans, tote bags, and tank tops! The possibilities are really endless. You don't even need to limit yourself to a bow pattern. You could create other shapes like letters, hearts, etc.
You don't need a sewing machine for this, although if you have one you'll be able to make a whole lot more of these in one day. I'll walk you through the steps whether you have never picked up a needle and thread before or if you're familiar with a sewing machine.
Let's get started!

First, grab your materials! Here's what you'll need:
Honestly, I just grabbed an old tank top I thrifted forever ago that I thought could use some embellishment. If you don't have any lying around the house, here are some options:
Another additional tip if you are a beginner is to select a shirt that has minimal stretch. So a 100% cotton tee would be a little easier than a stretch ribbed fabric. I find stretch fabric much more difficult to work with because if you aren't careful, you can get a lot of bunching and gathering with the fabric.
It's really tough to find a fitted tee or tank without at least some stretch, but when you're thrifting, try to choose something that's not crazy stretchy.
This DIY is great because you can use any old ribbon you have lying around. I have an entire ribbon collection at home so I'm always looking for cool crafts to do with ribbon!
This is the exact ribbon I used for this DIY, in case you wanted to use something like it!
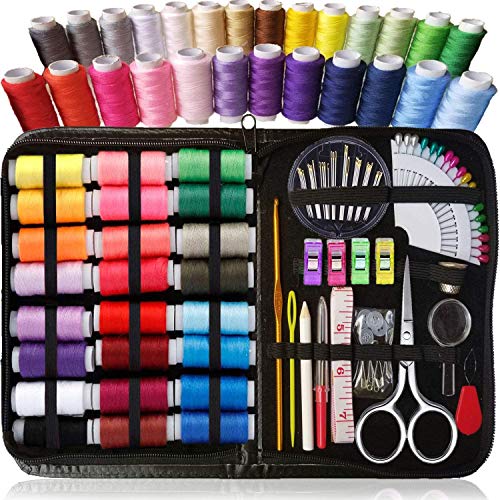
Honestly, all you need for this DIY is a beginner sewing kit! It comes with pins, scissors, a thimble, needles, and thread. This is the one I have personally purchased!
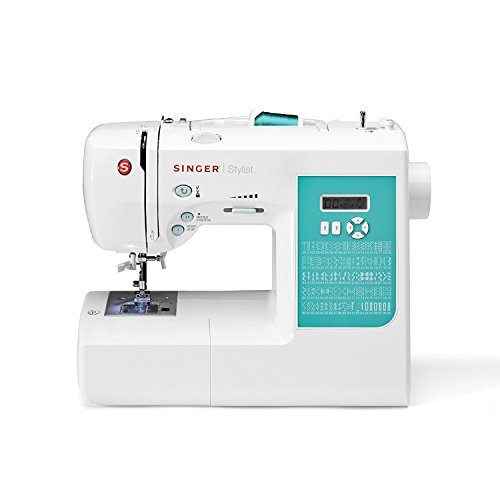
I received this sewing machine for Christmas one year and it continues to work well for me and all the DIY projects I love doing. It's the perfect beginner's sewing machine.


I know this seems pretty obvious, but you are going to take your ribbon and tie it into a bow. I cut my ribbon piece pretty long because I wasn't sure how long I wanted the tails to be on my shirt. You can play around with this but you can always cut more off, it's (near) impossible to put length back on.


Place the bow where you would like it on your shirt. Pinning the bow is probably the most important part as you will sew down the bow in this position.
If you've never used pins before, be careful as they can poke you! Just take a pin and insert it into a spot on your bow and through the first layer of fabric of your shirt. Push it through and poke it back up to the other side. You can see what I mean in the pictures I've provided above.
Another tricky element of this DIY is getting the more 3D aspects of the bow to lie completely flat. At the 4 corners of the bow, you will have some ribbon overlap. Try to make it lay how you want it to. Don't worry too much about it being perfect, I think the charm of this craft is that it looks homemade!


Here you can see a little closer what I mean about ribbon overlap. Just try to lay the ribbon on top of itself in the corner so that it creates a seamless shape.

If you are hand sewing, take any kind of needle.

Take a piece of thread. I used white but you can use any matching color. You can even use a contrasting color if you want to be creative. Insert one end of the thread through the eye of the needle. You many need to trim the thread or even smooth down the end fibers using a little water (I literally lick the end of my thread sometimes, not sure if that's weird or not) to be able to get it through the eye.

Now pull the thread through the eye until it's a medium to long length and cut. You don't want it too long so that it's catching on everything but you also don't want it too short to where you're having to rethread the needle a million times.
Now you have one long piece of thread with a needle in the middle.

Tie a double knot at the end of your thread with your two pieces on either side.

Make sure you tie the knot a few times so that it stays when you start sewing.


Take the top layer of your shirt and pick a spot (any spot) to start sewing the bow down. From the inside layer of your shirt, take the needle and insert it so that it goes through the shirt layer and the bow layer (as pictured above). Pull it through.
Now pick a spot a short distance away to insert your needle going from top to bottom.
Repeat this process. You're sewing! See, that was super easy.

It should look something like this! I tried to stay within the white part of the gingham pattern since I was using white thread. If you want it to look the best, try to keep the same stitch length the whole way through. As you can tell from photos, I'm honestly too impatient sometimes to make it look perfect.
Keep removing the pins as you go.
If you want the flattest look, you'll sew along both edges so the bow looks completely tacked down. If you don't care and you'd rather speed the process up and are into more of a 3D look, just sew right down the middle of the bow.

See! I know it looks a little messy, but I think it's charming!

If you have a sewing machine, the same process applies. Be sure to sew through the top layer of your shirt only.
If you need help on basics on how to use a sewing machine, I would be happy to make a separate post for you. Until then, there are a bunch of amazing tutorials on YouTube. It's super easy to learn.

Okay you guys, this wasn't my best looking sewing project but I honestly think it turned out cute. You can see that my shirt was super stretchy so it was hard to keep the fabric straight when sewing. I also used multiple methods here, I started off by hand sewing and then went to machine. I tried to do the double sided method of sewing (tacking down both ends of the ribbon) on the right and then I was curious how it would look if I just did a single stitch running down the middle of the ribbon rather than the double.
I will definitely start working on another shirt for you guys to see if I can improve upon how the first one came out!
If you guys follow my tips (try a non-stretchy shirt, sew down both sides of the ribbon, go slow) it should turn out beautifully!
As with any DIY, you guys know it takes practice to get it looking perf! Let me know if you end up trying this! I'd love to post your results!